Overview
The Pre-Screening and eConsent app supports participant intake and informed consent in one workflow. Study teams can configure screening logic, publish consent forms, invite participants, and track signed status.
This page is aligned to the live interface in test-2025 and includes step-by-step images for both access and signing flow.
Access Path (Live UI)
- Open My Tasks / Current study from My Page.
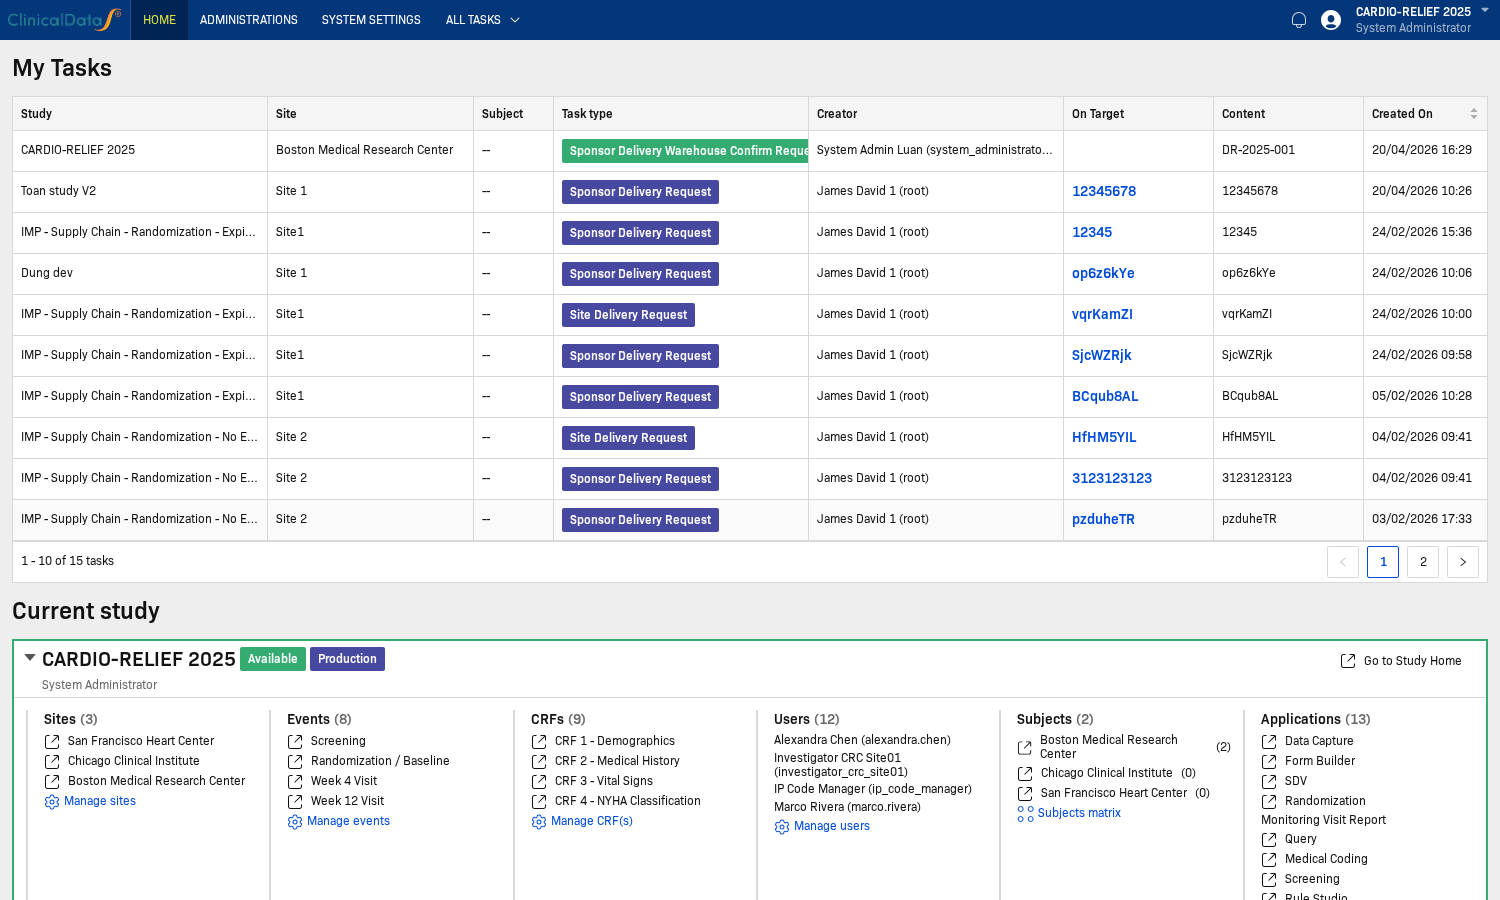
- Open the selected study from Current study.
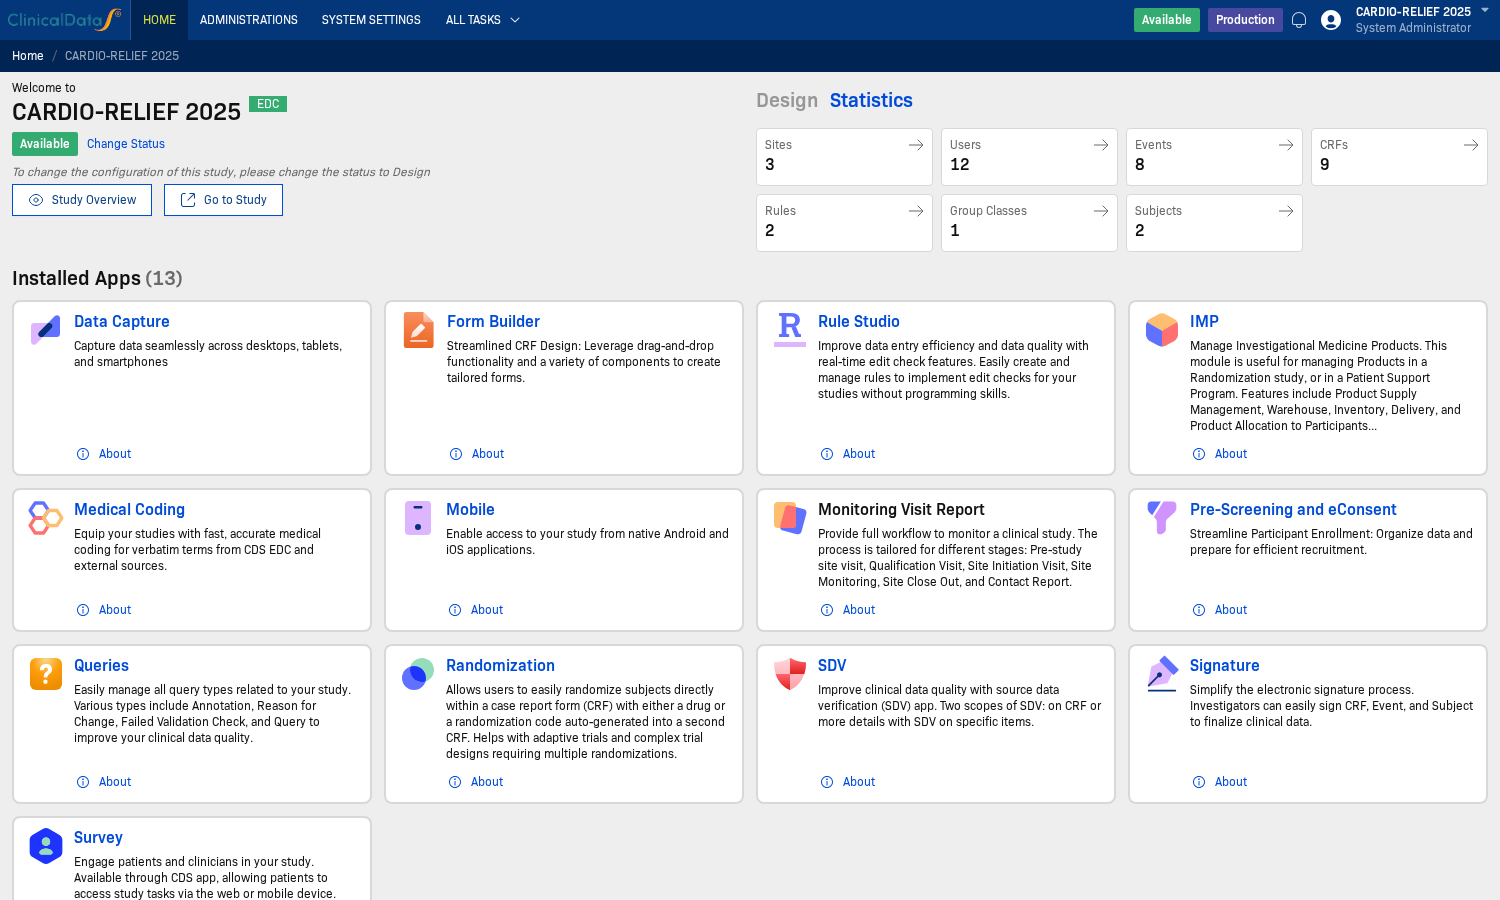
- Go to Pre-Screening and eConsent in the application list.

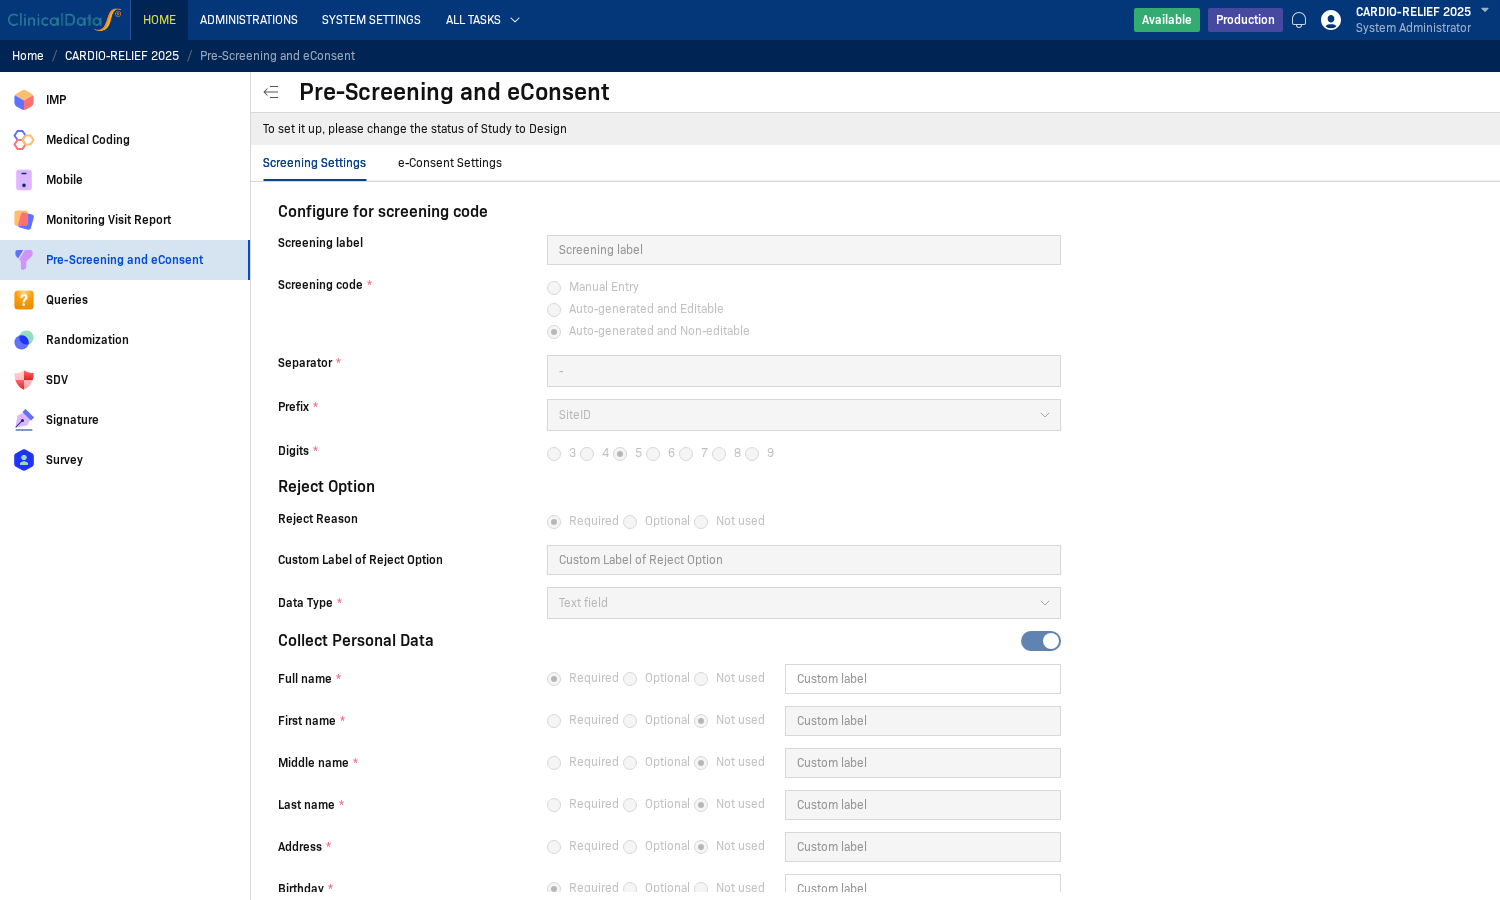
- Review Screening Settings (screening code, personal data, reject option, attachments, CRF collection).
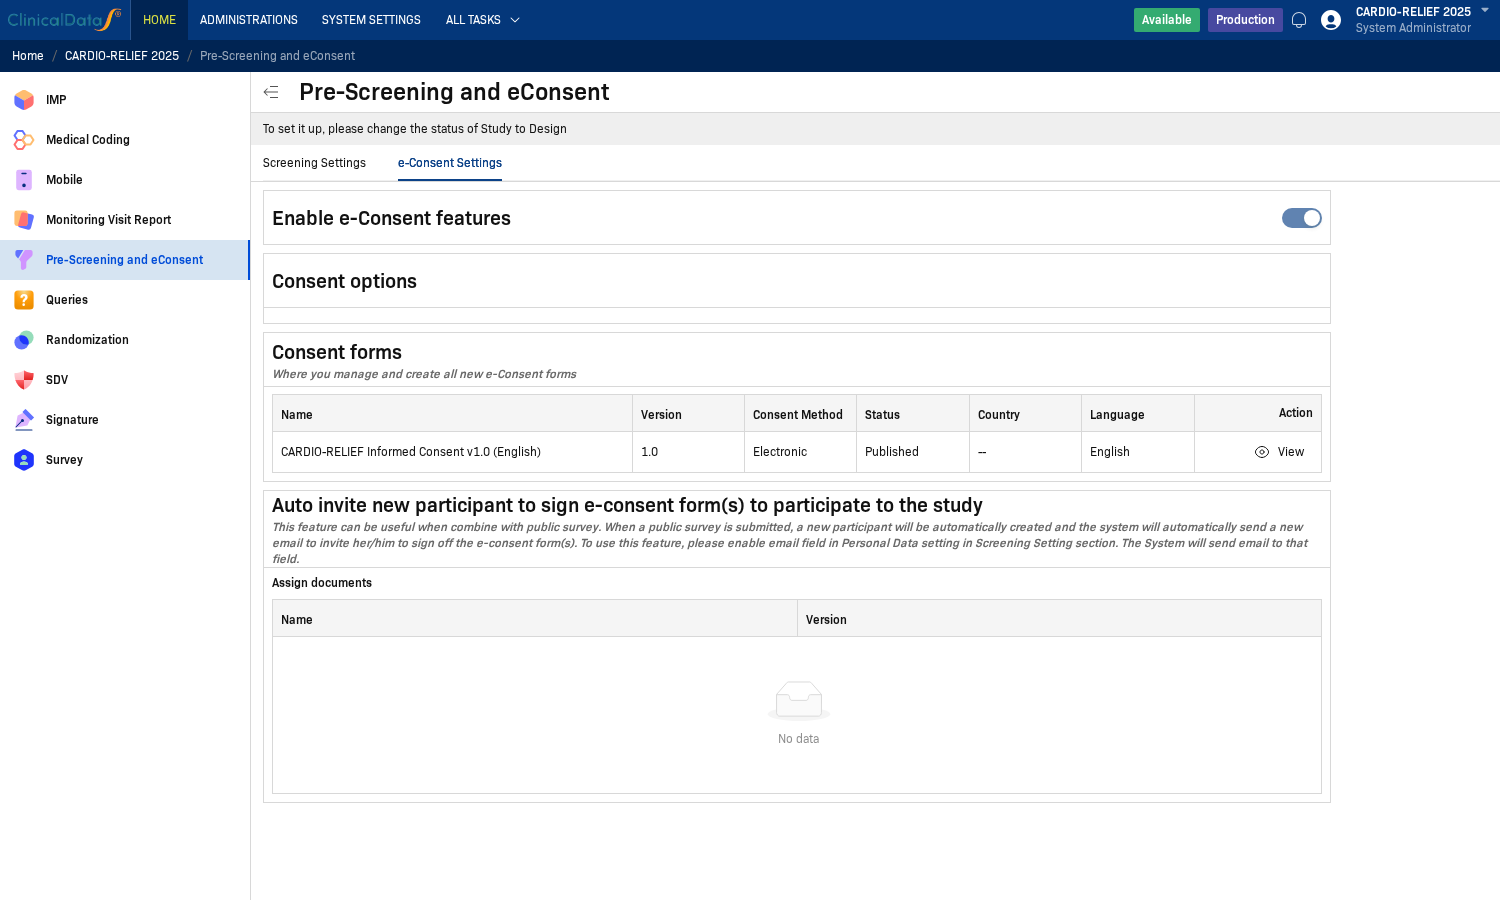
- Review e-Consent Settings (enable e-consent, consent forms, auto invite).
note
In the captured environment, configuration is read-only unless the study is in Design status (banner: To set it up, please change the status of Study to Design).
Key Features
- Screening code generation — Automatically generates unique screening IDs (e.g.,
SITE-00001) with configurable prefix, separator, and digit count - Personal data collection — Captures participant name, date of birth, phone, email, and supporting ID documents during screening
- Reject reason tracking — Records why a participant was rejected during pre-screening (required, optional, or disabled)
- Electronic informed consent (eConsent) — Build multi-section ICF documents using a rich text editor with support for participant signatures, investigator signatures, LAR sections, and participant agreements
- Consent versioning — Manage multiple consent form versions (Draft → Published → Archived) with language and country scoping
- Auto invite — Automatically send consent invitation emails to new participants created via public survey, using the email collected during screening
Who Uses This App
| Role | Actions |
|---|---|
| Study Administrator | Configure screening settings, build consent forms, publish ICF versions |
| Investigator / CRC | Screen participants, collect personal data, initiate consent workflow |
| Participant | Complete screening, review and electronically sign the ICF |
| Monitor / Sponsor | Review screening records and consent status |
Workflow Summary
- Configure — Set up screening code format, personal data fields, and eConsent settings in Design mode
- Build ICF — Create one or more consent form versions using the Add Consent Form dialog
- Publish — Activate the consent form to make it available for participant enrollment
- Screen — Site staff create screening records; participants receive an auto-invite or manual invitation to sign
- Sign — Participants review the ICF and apply their electronic signature
- Track — Monitor consent status and version history from the Consent forms table
Documentation
- Configuration — Configuration overview
- Screening Settings — Screening code format, personal data collection, attachments, and CRF data collection
- e-Consent Settings — Enable eConsent, consent options, consent form builder, and auto invite
- User Guide — Step-by-step: add participant, send invitation, sign consent, enroll in study