Introduction
Pre-Screening and eConsent supports 2 main functions within a single application:
- Configure the collection of participant screening data.
- Manage informed consent forms (ICF) and track electronic signature status.
This page has been validated against the actual interface on the test-2025 environment and includes a complete step-by-step guide with screenshots for signing e-Consent.
Access Path (Based on Actual Interface)
- From Home, navigate to the Current study area on the My Tasks page.
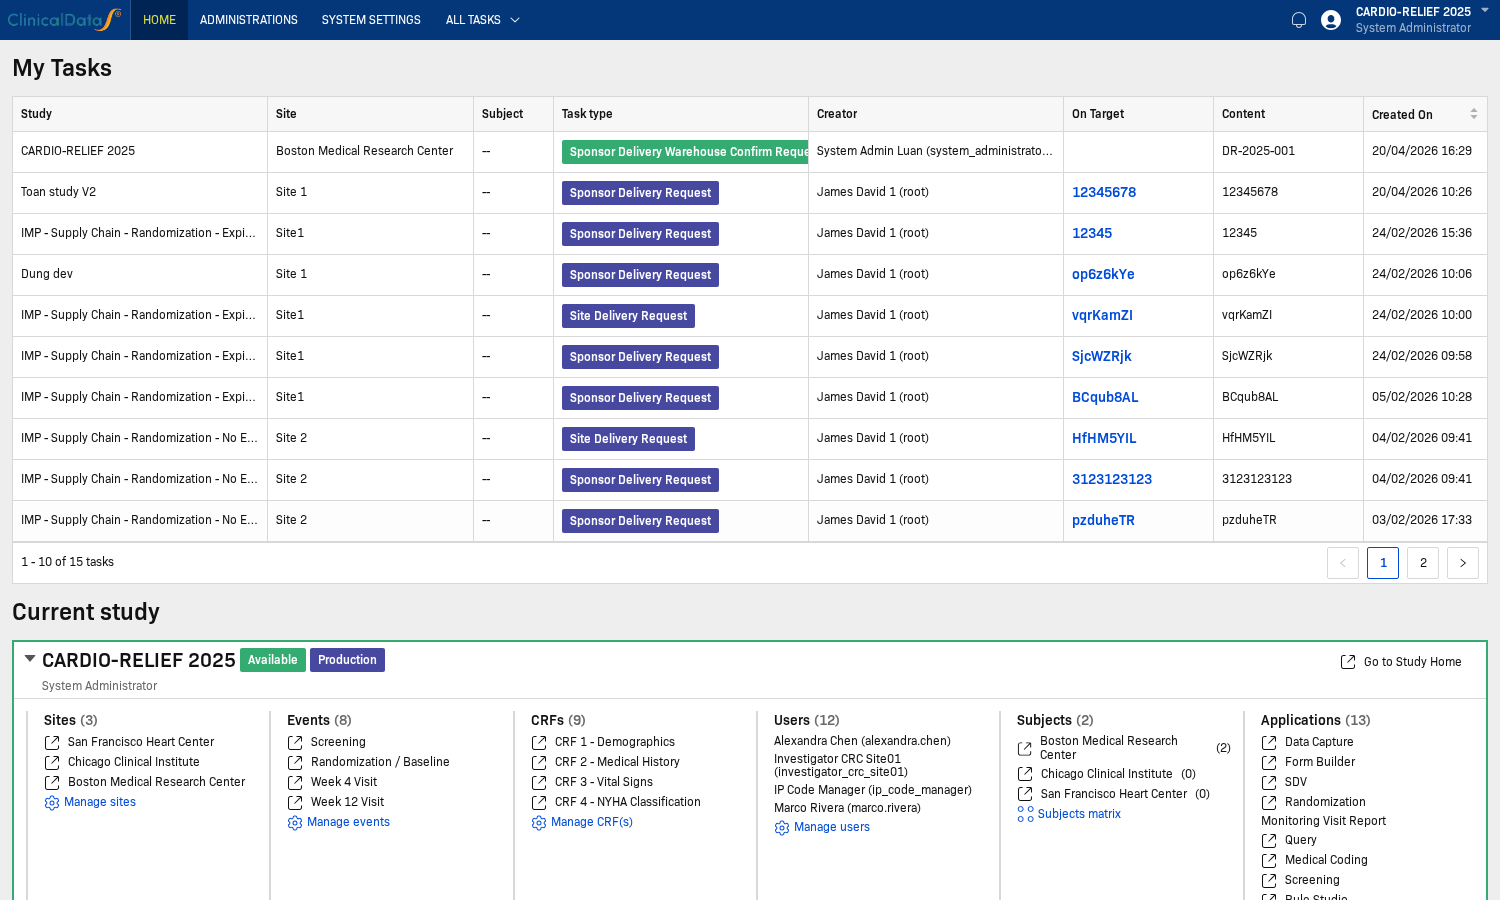
- Open the study you need to configure.
- Select the Pre-Screening and eConsent application from the Applications list.
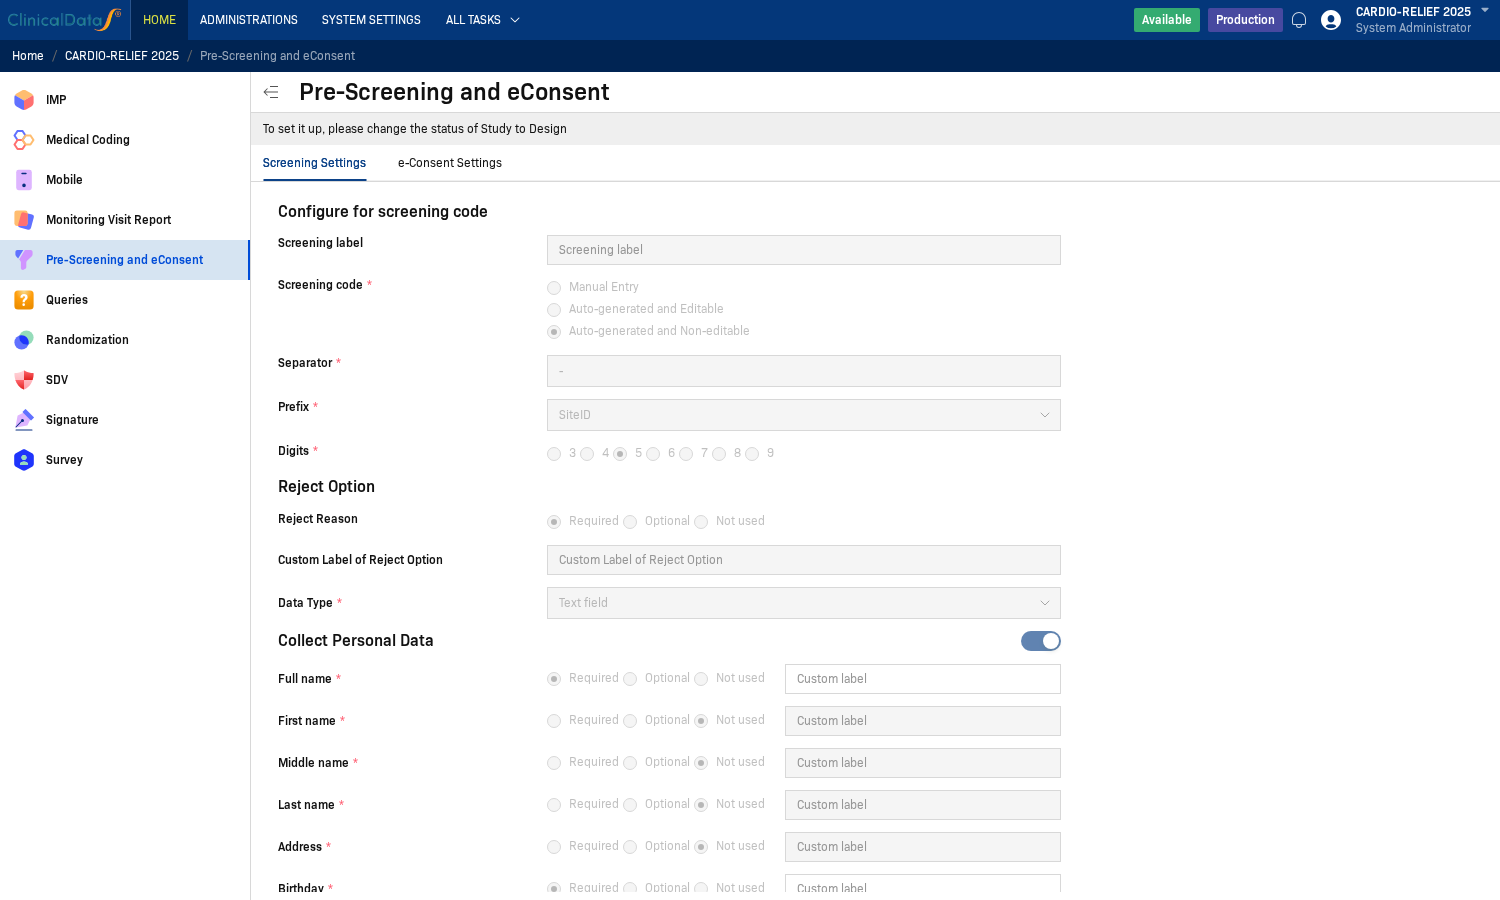
- Go to the Screening Settings tab to configure the screening code and personal data.

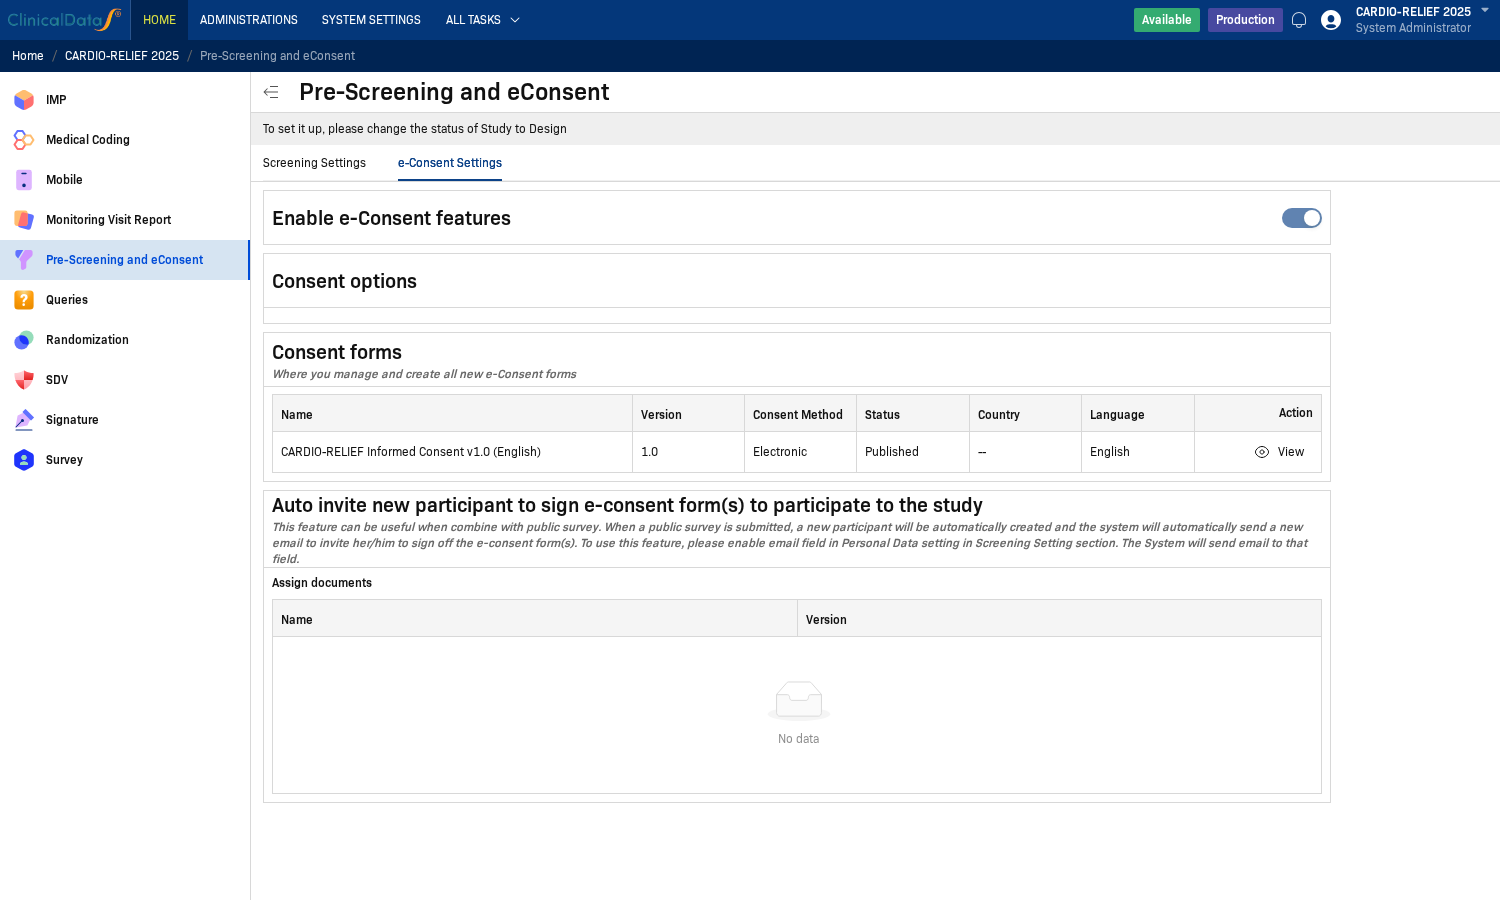
- Go to the e-Consent Settings tab to configure consent forms and auto invite.
note
On the current environment, the system displays a message: To set it up, please change the status of Study to Design. This means if the study is not in Design status, many configuration fields will be read-only.
Main Configuration Sections
The application has 2 main configuration tabs:
- Screening Settings Configure the screening code format, reject options, personal data, document attachments, and supplementary CRF.
- e-Consent Settings Enable/disable e-Consent, manage consent forms (Draft/Published/Archived), and configure auto invite.
How to Sign e-Consent (Step-by-Step)
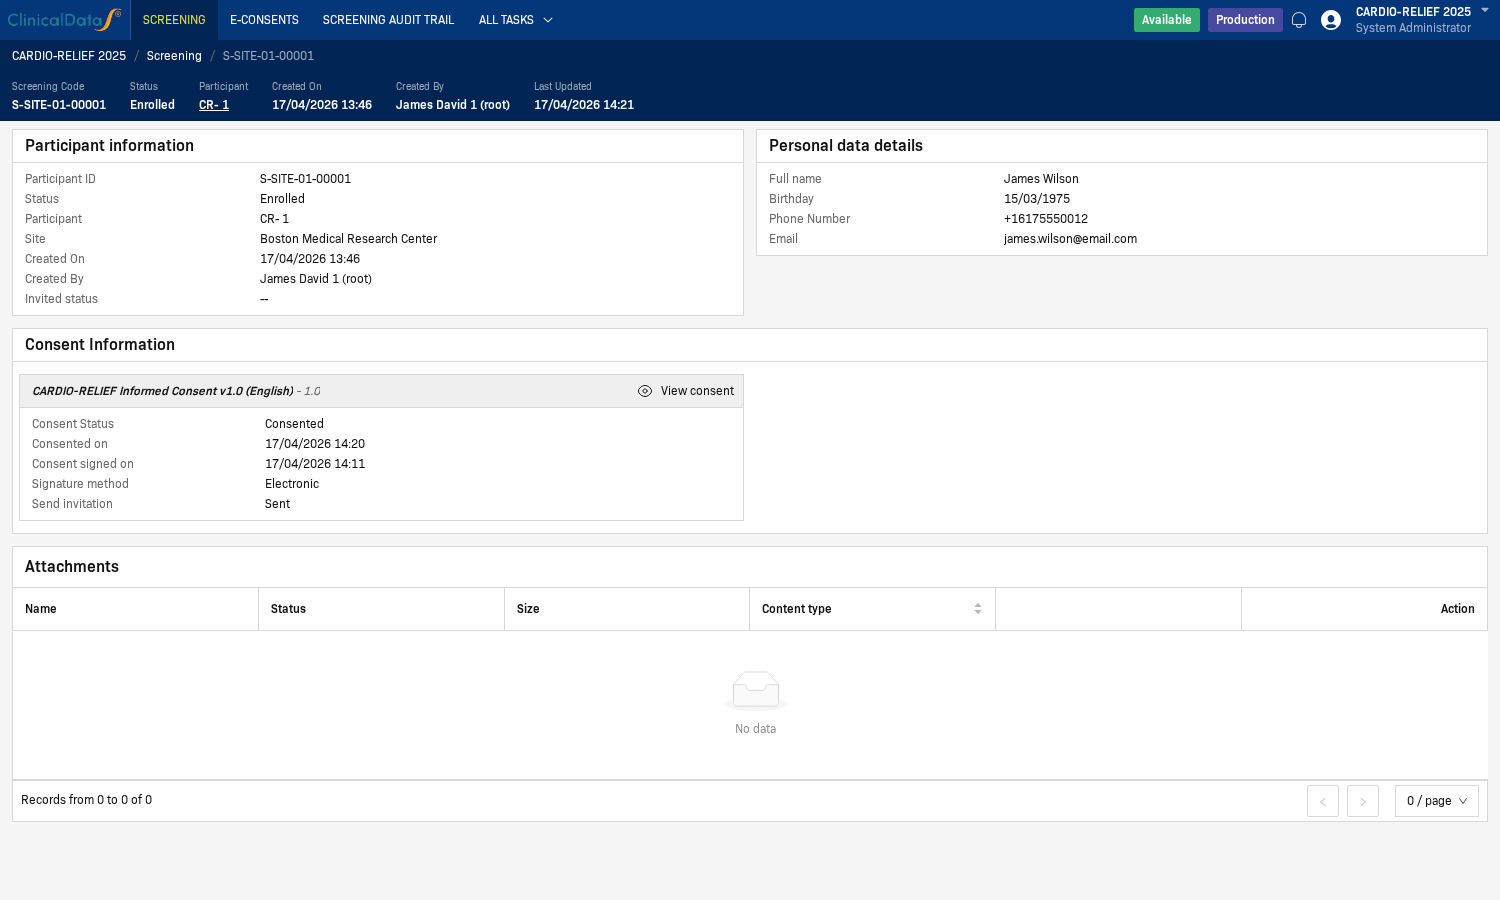
- Open the Screening screen to view the list of participants.
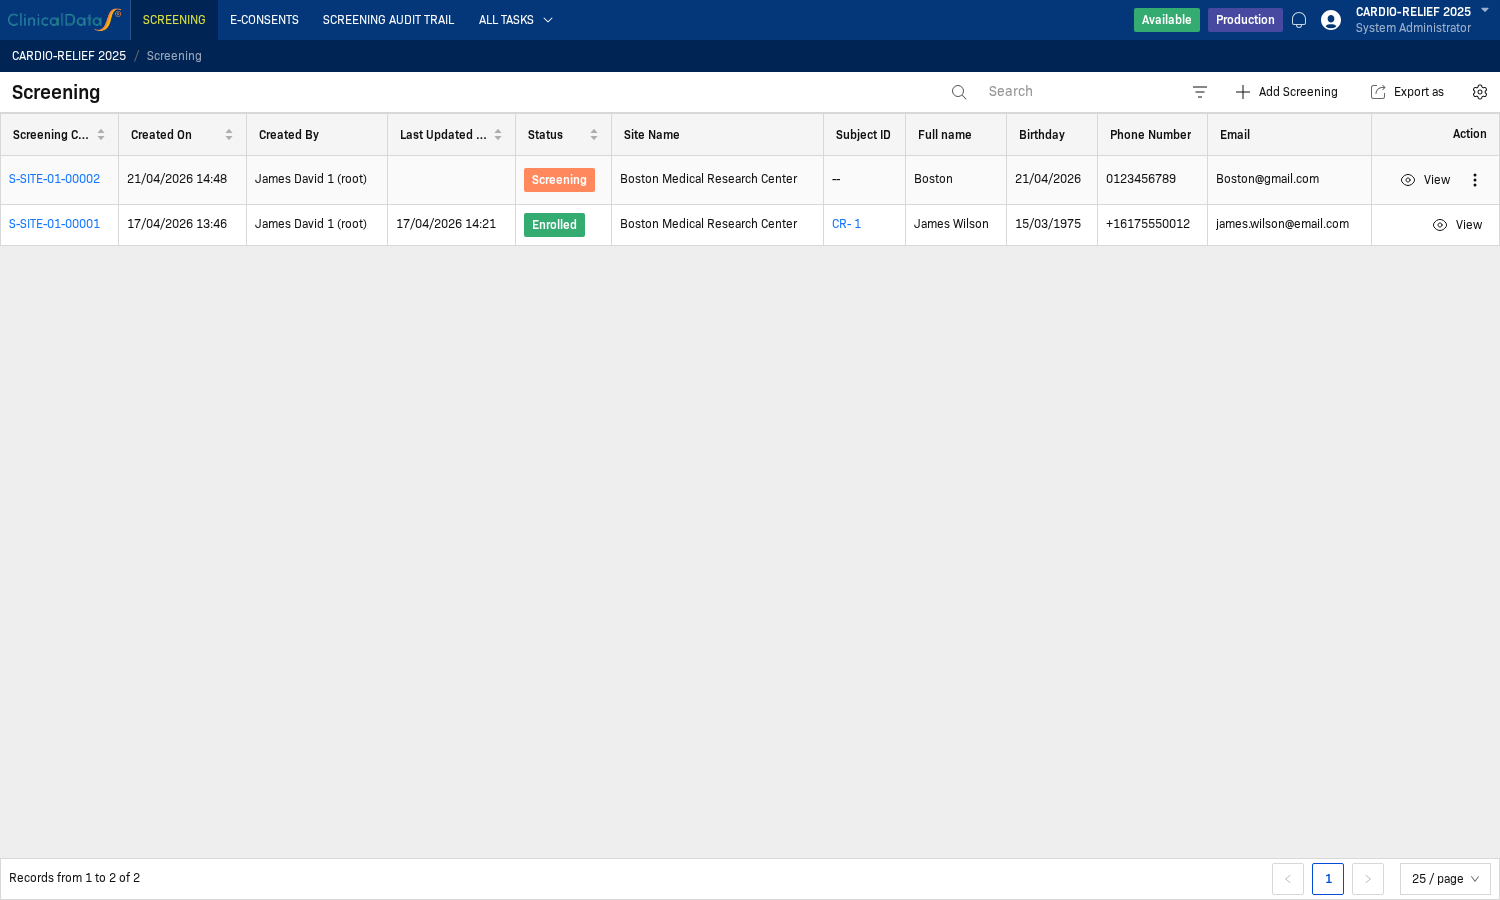
- In the participant row that needs action, click View to open the record and the Consent Information section.

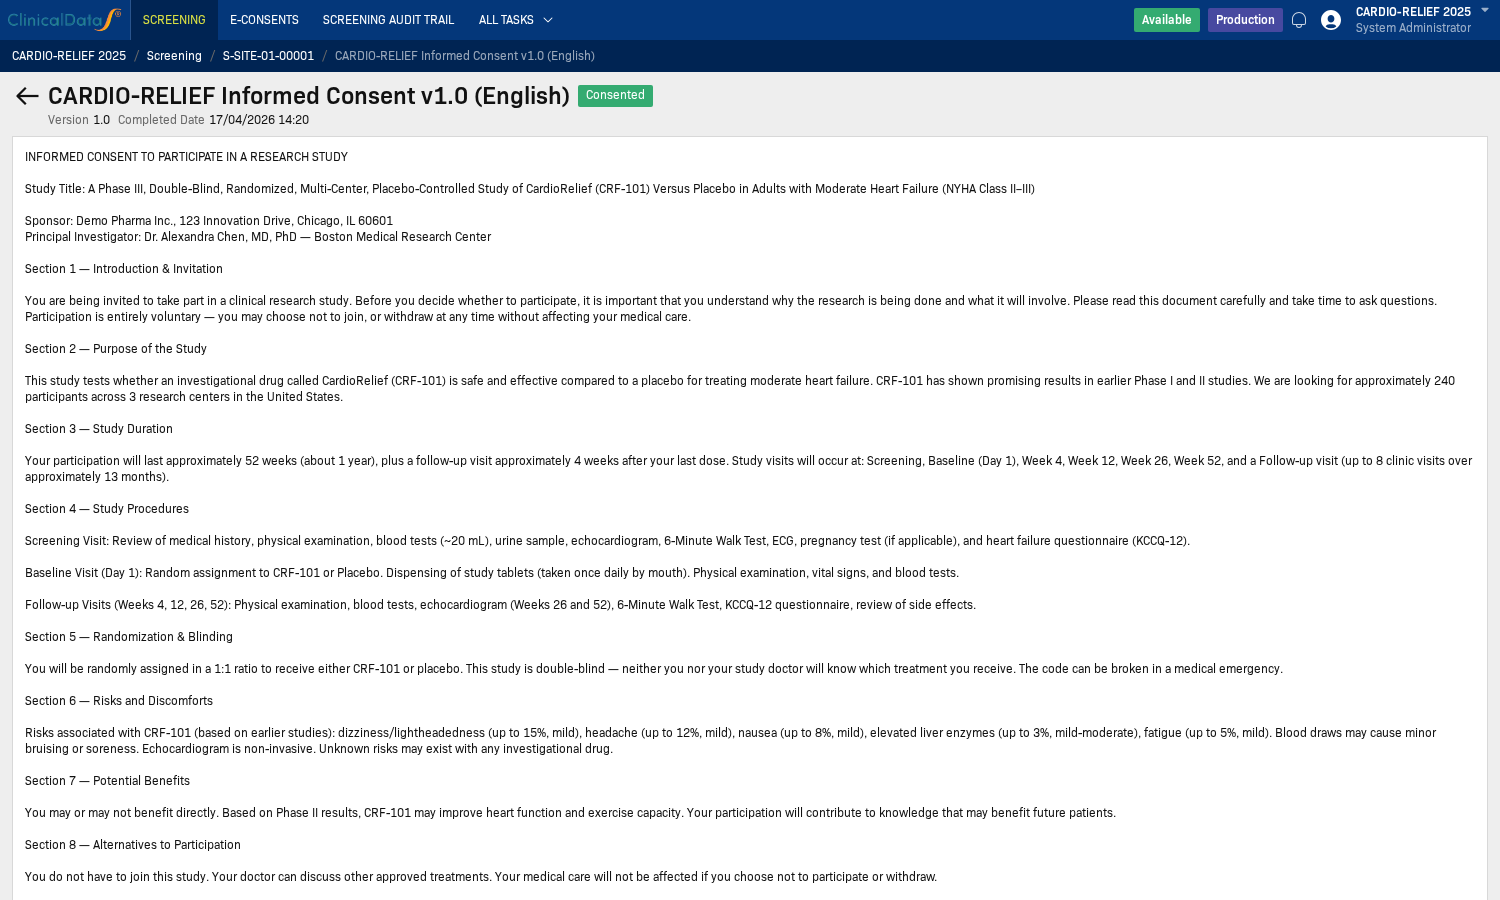
- Click View consent to open the ICF form content.
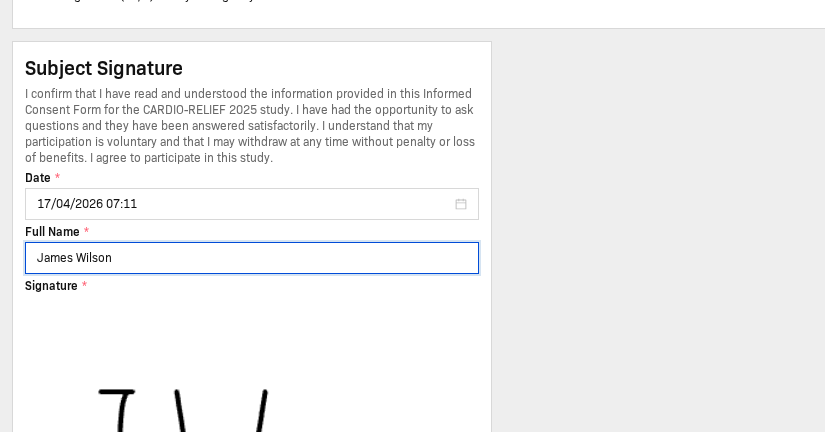
- In the Subject Signature section, fill in the required fields (Date, Full Name).
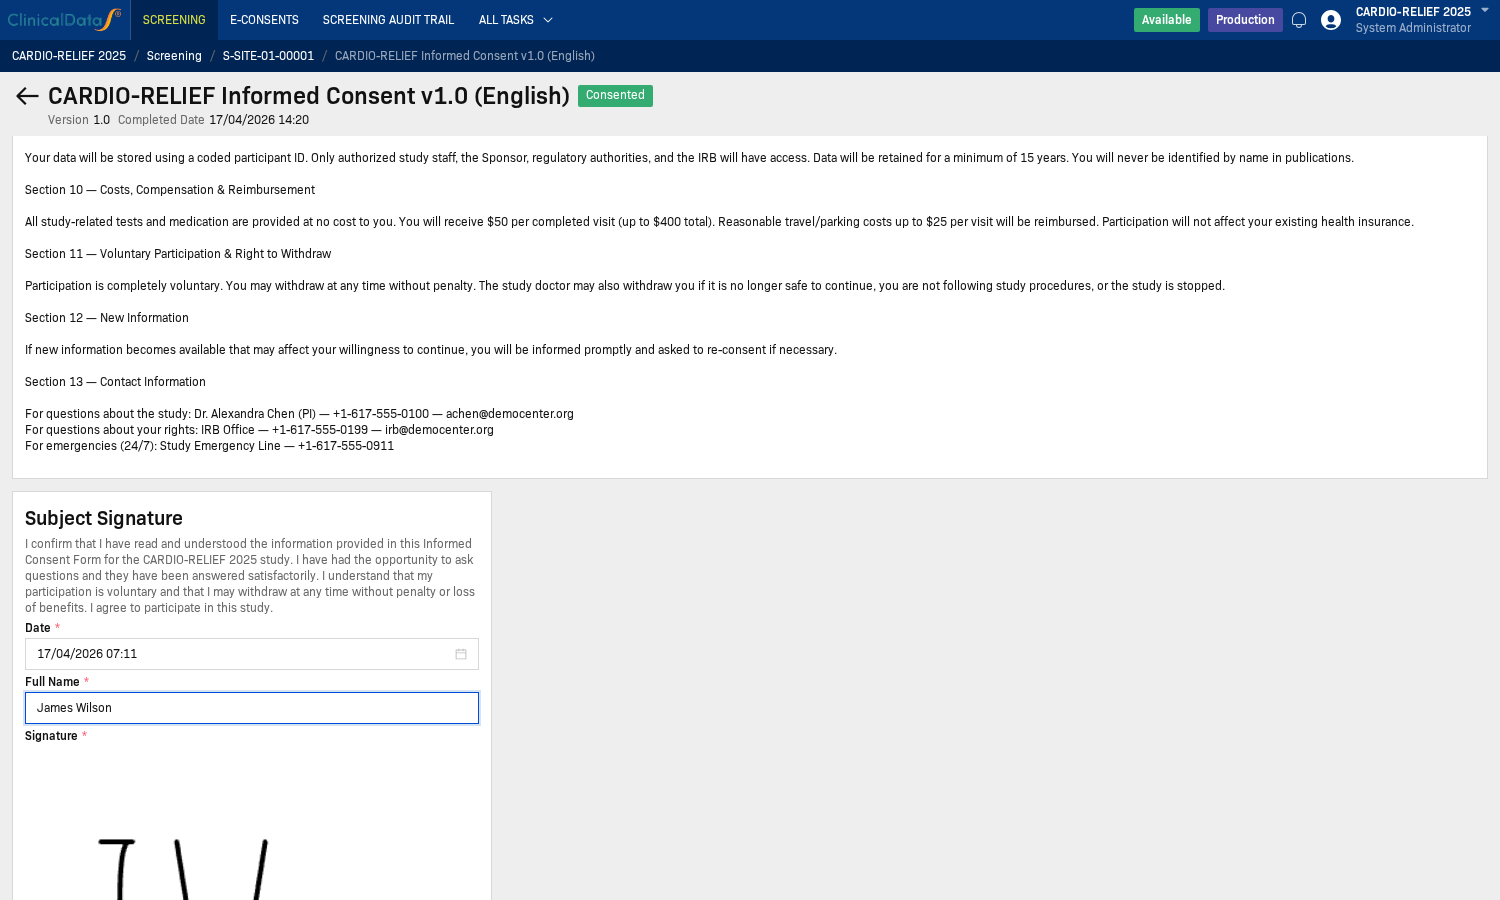
- Sign in the Signature area.
- Return to the participant record and confirm that the Consent status is now Consented.
Operational Notes
- A consent form must be in Published status to be used in the signing workflow.
- Assign appropriate permissions for screening/eConsent operations to relevant roles in the system authorization settings.
- If you cannot access certain fields, verify the study status and user permissions before proceeding.