Overview
The SDV (Source Data Verification) app verifies clinical trial data against source documents. Configure it from Home → select your study → SDV.
SDV configuration requires the study to be in Design status. If the study is in Available or Frozen status, settings are read-only.
Access path
- Open Home > My Page.
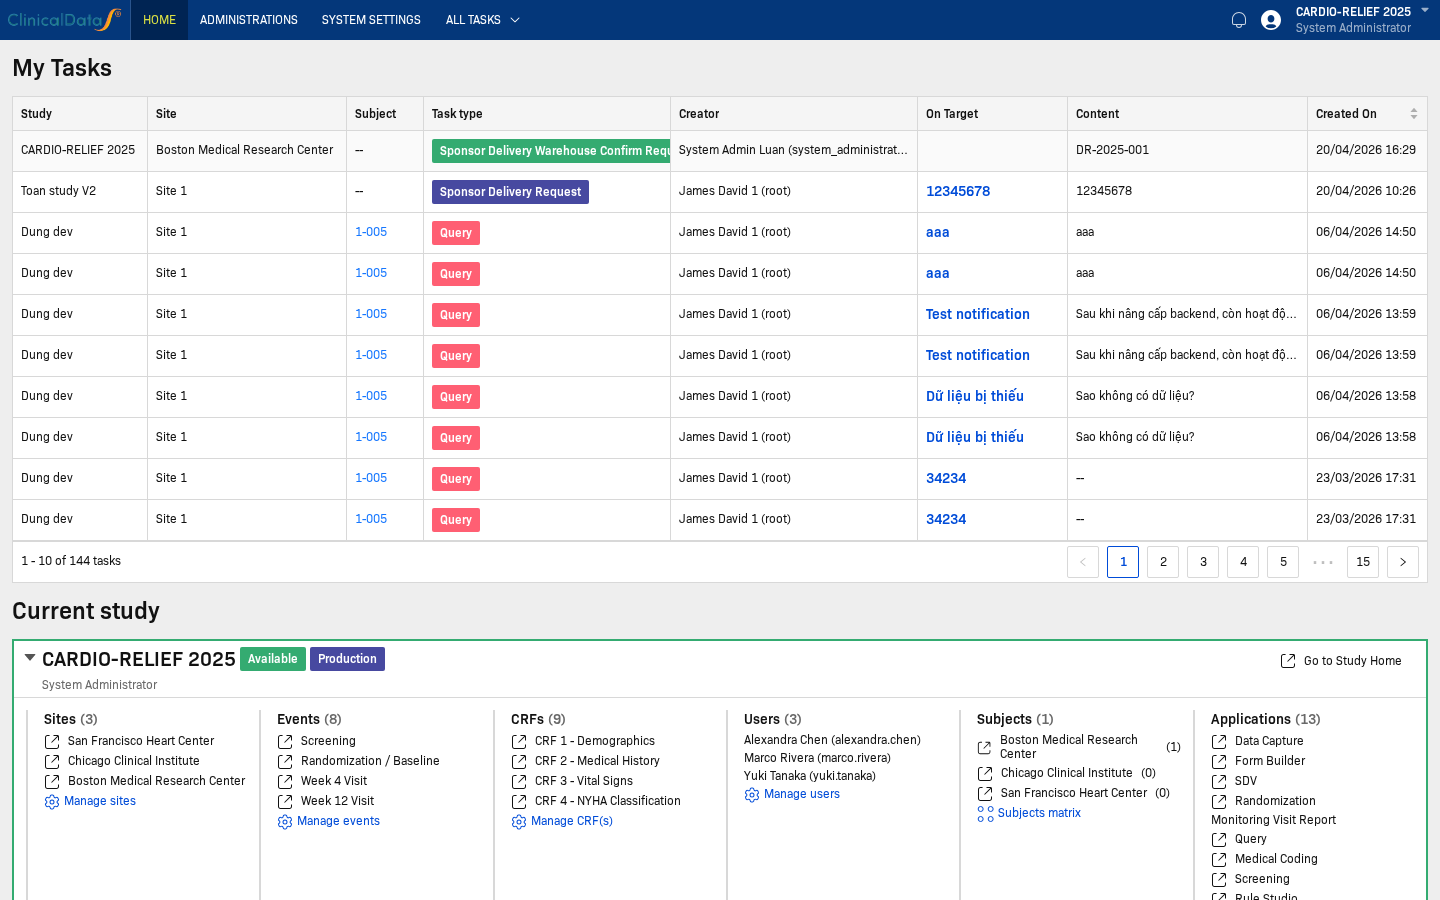
- Click Go to Study Home for your study.
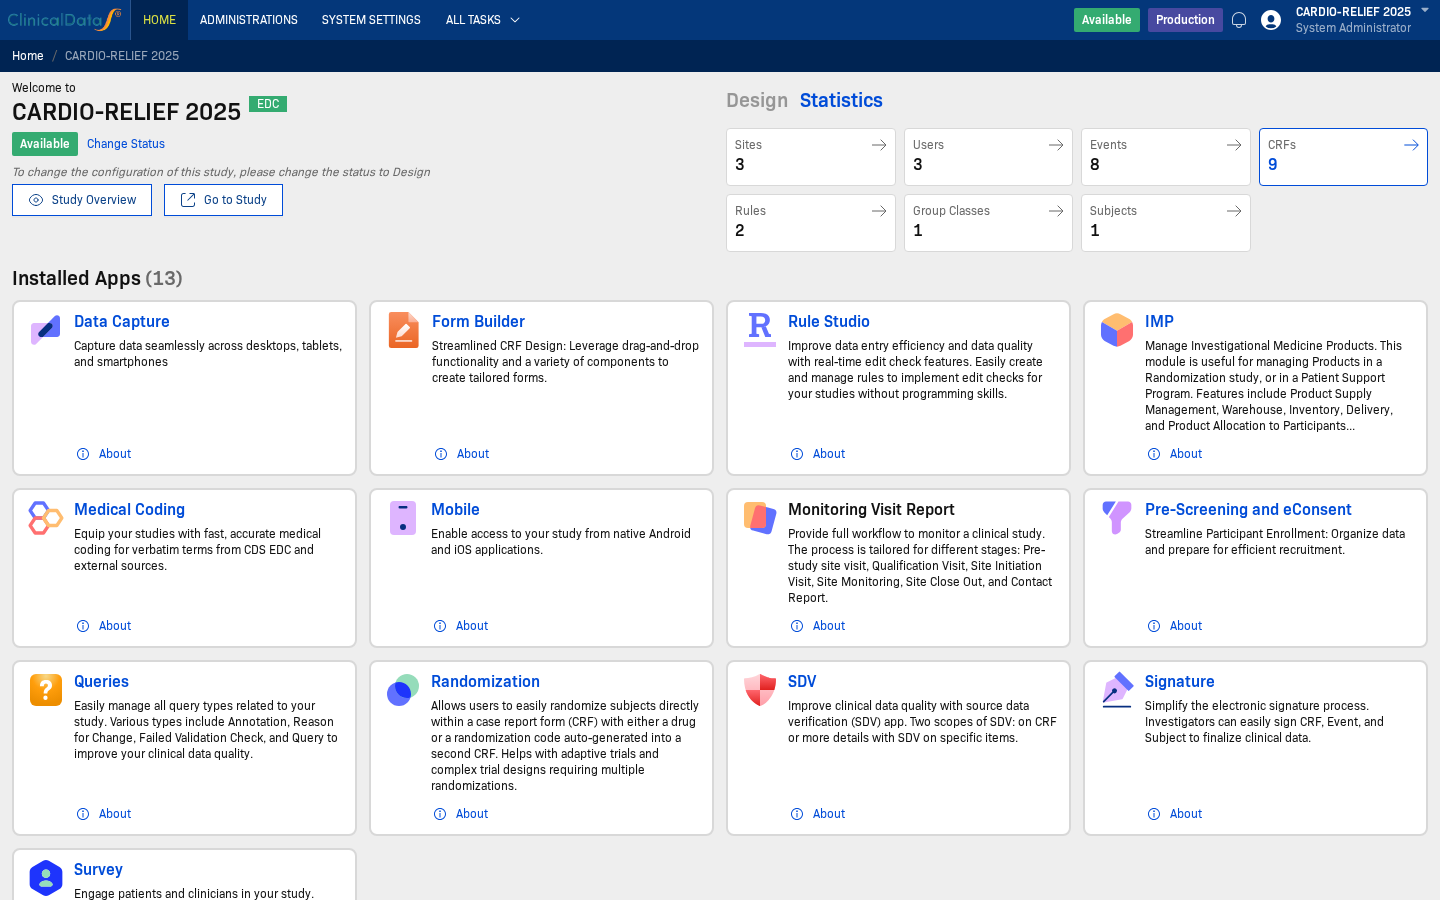
- Open SDV from Installed Apps, then choose Setting.
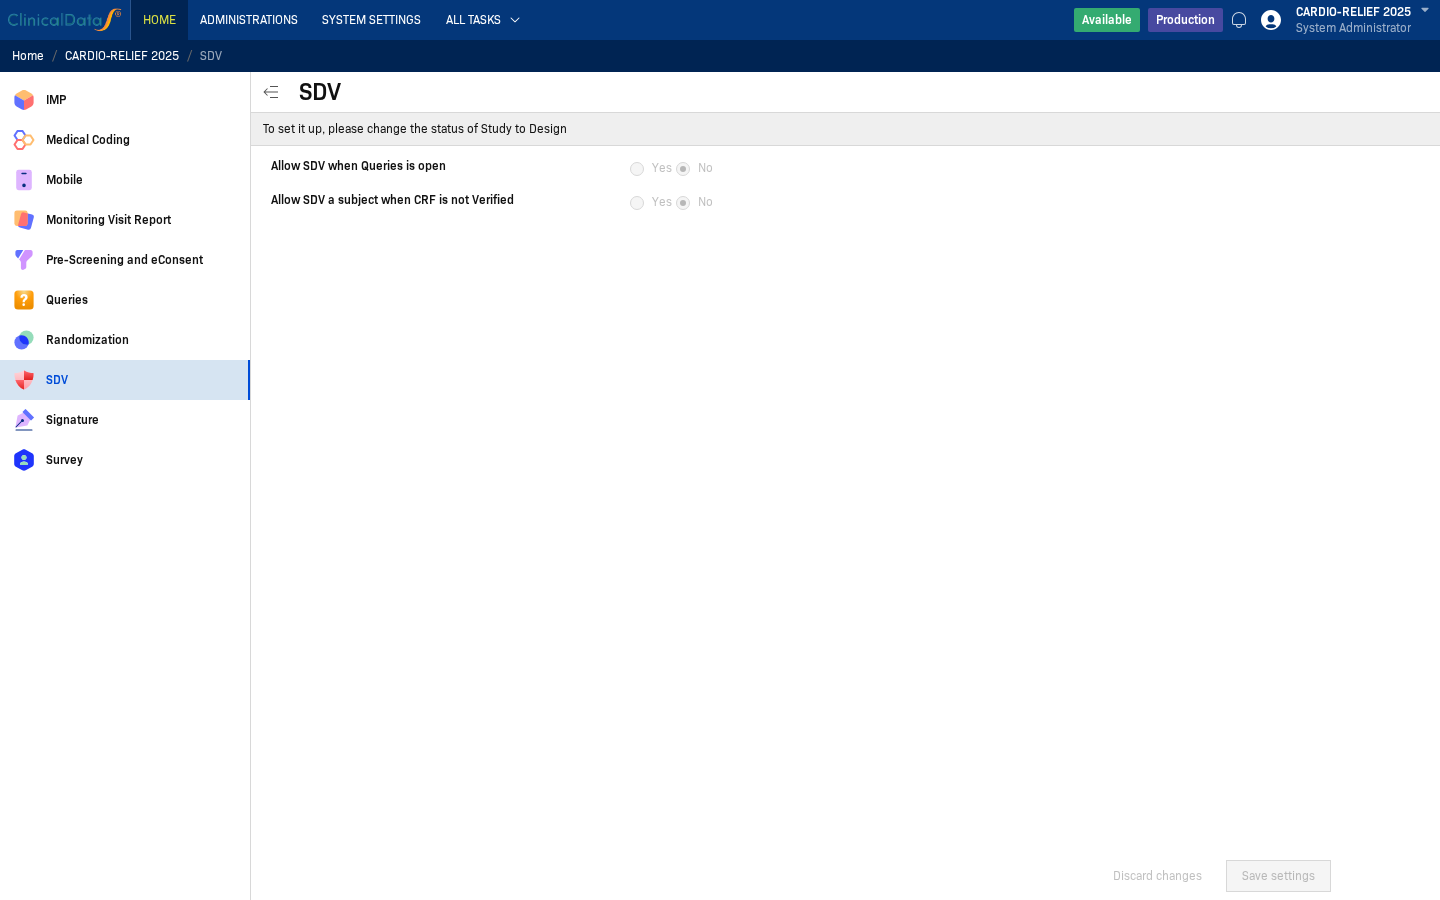
Configuration Options
| Setting | Options | Description |
|---|---|---|
| Allow SDV when Queries is open | Yes / No | When set to Yes, users can perform SDV on data even when there are open queries on the subject or CRF. Default: No |
| Allow SDV a subject when CRF is not Verified | Yes / No | When set to Yes, users can mark a subject as SDV-complete even if not all CRFs have been verified. Default: No |
Saving Changes
Click Save settings to apply your configuration. Click Discard changes to revert unsaved edits.
Configure SDV for specific CRF items
Use this setup when SDV should only apply to selected fields (for example: Condition, ICD-10 Code) instead of the entire CRF.
Step 1: Open CRF properties in event builder
- Open Home → My Page.
- Click Go to Study Home for your study.
- Open Build → Events from the study navigation.
- Select the target event, then click Edit.
- Scroll to the target CRF and open its properties panel.
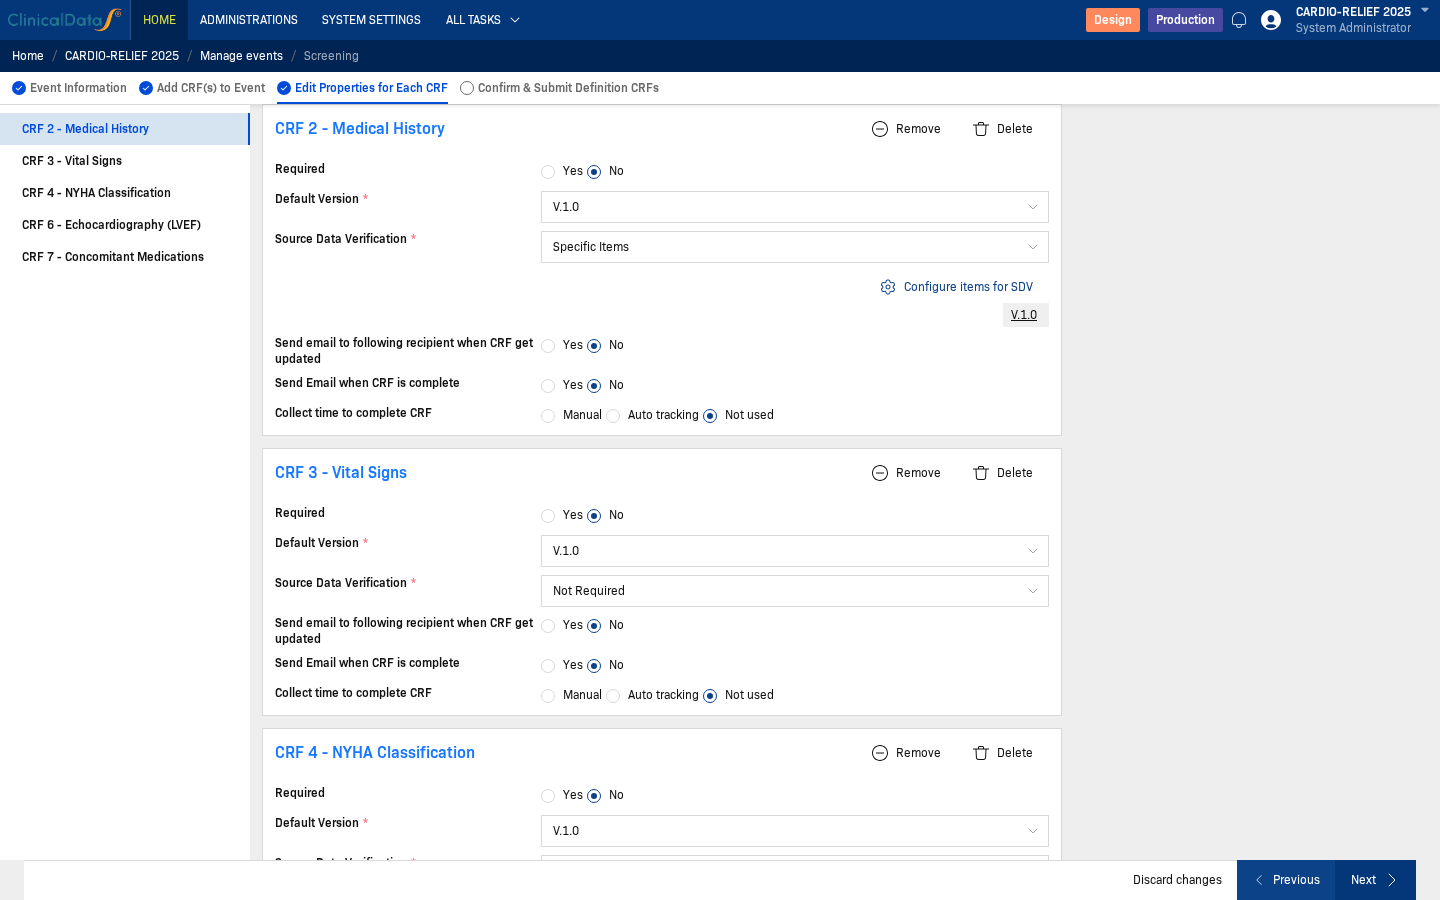
Step 2: Set Source Data Verification = Specific Items
In the target CRF, set Source Data Verification to Specific Items.
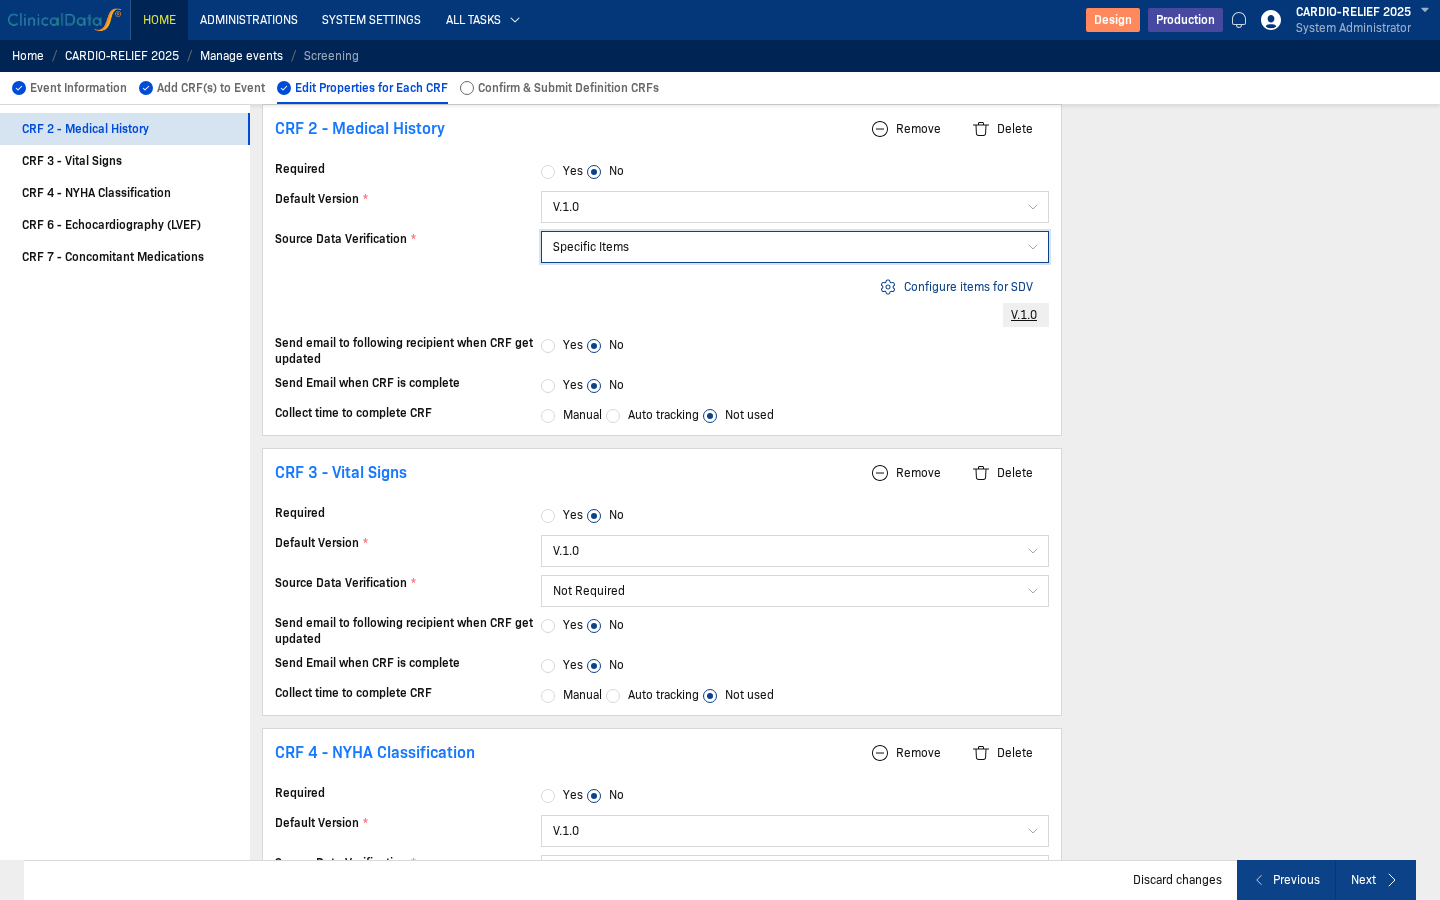
Step 3: Open Configure items for SDV
Click Configure items for SDV.
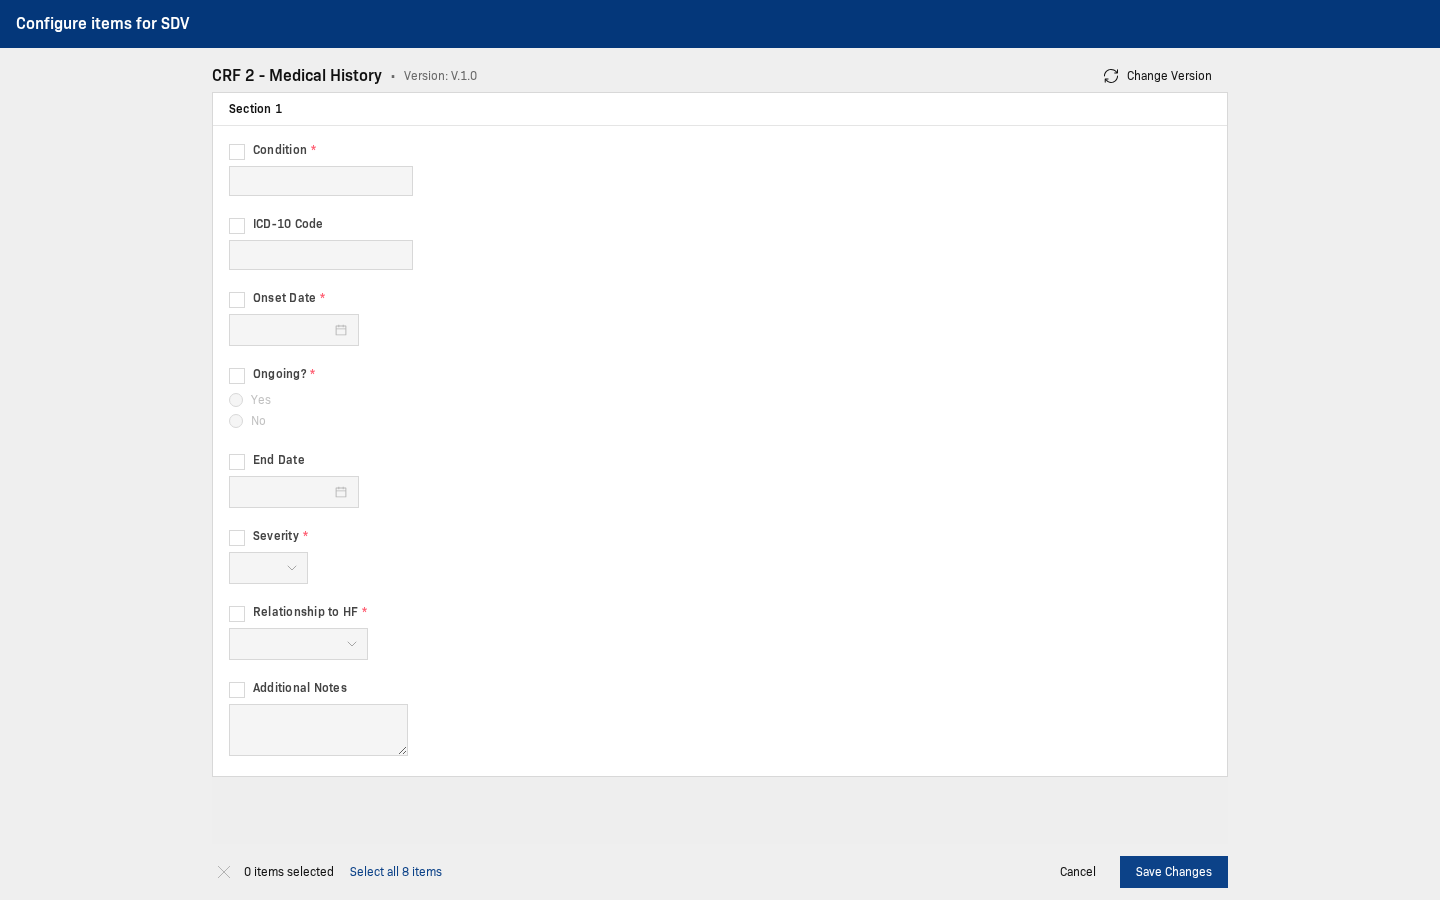
Step 4: Select required fields
Choose the exact fields to be verified (example: Condition, ICD-10 Code), then click Save Changes.

Step 5: Submit event definition
Review Confirm & Submit Definition CRFs, then submit.
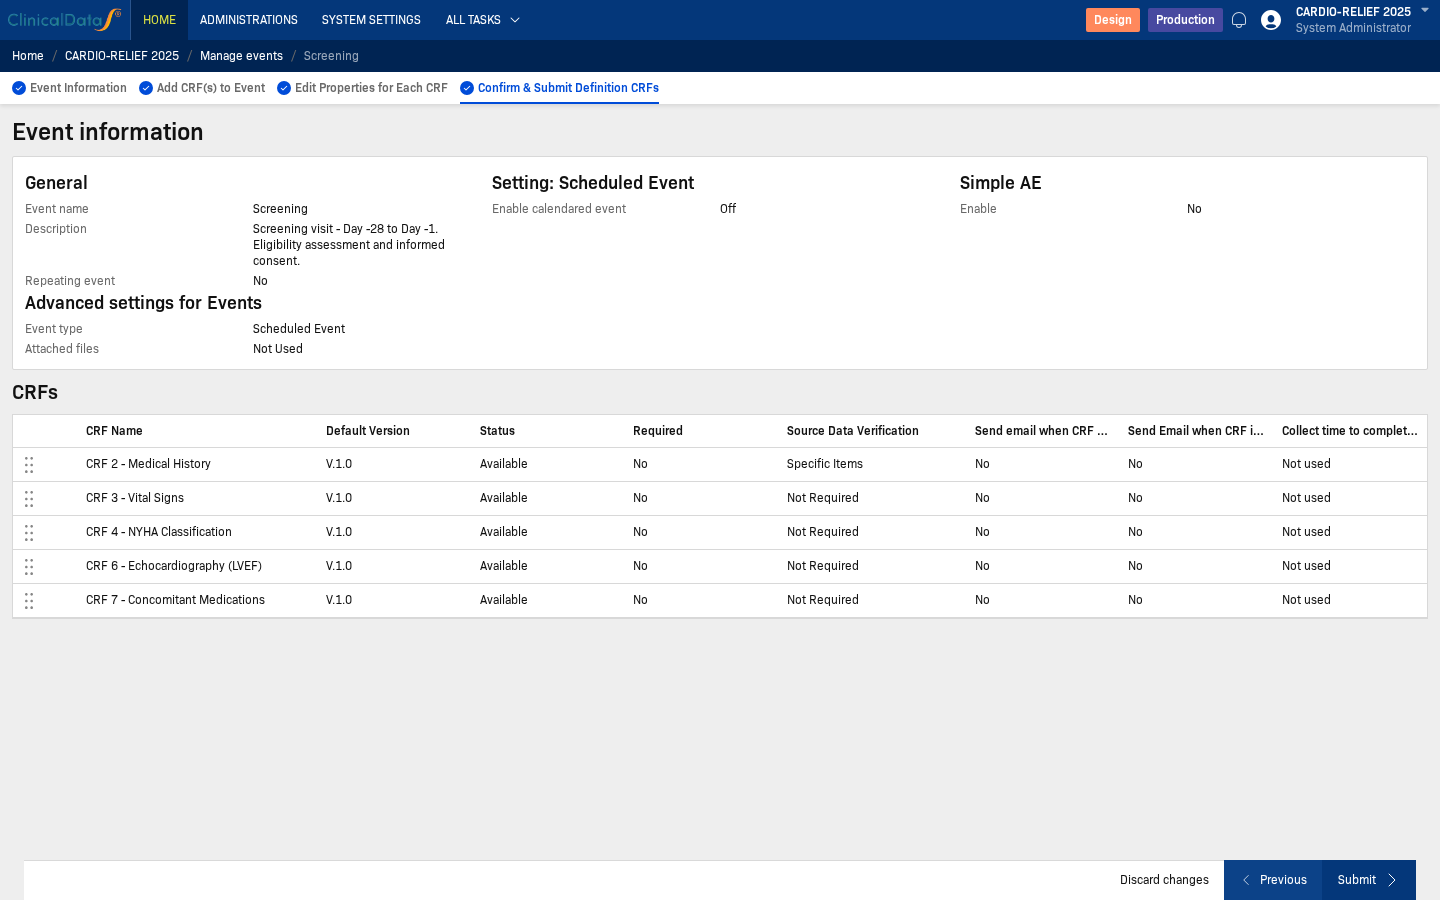
After configuration is submitted, perform the actual verification workflow in Events.
Recommended setup checks
- Confirm SDV settings match your study SOP before data-entry starts.
- Re-check settings after protocol updates that affect CRFs or verification strategy.
- If expected SDV workload is missing, confirm settings here first, then review Events.